

IN THIS POST
1 Great news!!
2 Glassing the deck
3 The Stealth Logo
4 Thanks to Mick Clarke
5 In closing
1 Great news!!
When I visited Stealth Performance Products last week, Bruce Challenor , co-director of Stealth , told me that it is his intention to concentrate more on designing watercraft next year. He has a life-time of experience in designing and building innovative speedboats, racing kayaks, recreational kayaks, touring kayaks, fishing ski's, surf ski's etc., etc. which are exported to Europe, Dubai, Israel, Ozzy, etc. I certainly can't wait to see what exciting designs he will produce!!
2. Glassing the deck


Because the wooden strip structure has its own inherent strength, I chose the lightest possible woven glass material for the deck.
I honoustly don't know what to think of the result. After glassing, the joints between the strips are now much more visible than before - even those tight joints that were totally invisible before. Unfortunately I've never seen a strip kayak "in real life" before and don't know if this is an acceptable and common problem - or just bad workmanship. However when reading up on glassing last week I came across an article where the author mentioned this problem created by using epoxy glue to join the strips together. He actually uses water based wood adhesive to avoid this. He also stated that he had yet to see a strip kayak "coming apart" in the water by using water based glue. Interesting approach.
No major problems were experienced during the glassing process. The sanded kayak was wiped off with Acetone (as per manufacturer's advice) and epoxy resin was used to wet out the cloth onto the wooden surface. On the aft deck I pulled the cloth too tight and after a few hours the cloth creeped back, forming two small "longitudinal bubbles" which will have to be cut out later. At two places I applied too little expoxy resin and due to the porosity of the Cedar these spots now have a foggy appearance. Not much one can do about this now.
Epoxy resin will now be applied repeatedly to the deck until the woven texture of the cloth is fully covered.
3. The Stealth logo

I decided to etch out the logo in brass shim plate. The logo will then be inlayed into American Walnut and this assembly will form the fore hatch cover.
The etching medium in the plastic softdrink bottle is Ferric Chloride. The fish tank airpump serves to agitate the solution continiously. The picture below shows the brass being etched away adjacent to the logo sticker

After etching, the surplus brass simply fell away from the logo. Please note that I had forgotten to mask off one half-moon shaped piece of the logo and this area was also etched away. I will have to do this piece seperatedly.

The etching technique certainly resulted in much more fair and smooth edges as well as having the benefit that the plate remains perfectly flat - which would not have been possible if it had been cut out with tin snips or even a Dremel tool.

4. Thanks to Mick Clarke
Mick kindly agreed to do a performance assessment of the craft once its completed
Mick Clarke (http://www.kayakfishingsa.co.za)
Mick is the Chairman of the Scottburgh Kayak Fishing Club and has published various articles on kayakfishing in magazines and contibutes a lot of his time towards promoting the sport and safety through his knowledge of the SA Marine legislation.
He is also the owner of the 4-star guest house in Umkomaas on the South Coast of KwazuluNatal in SA
Mick Clarke (http://www.umkomaasguesthouse.com/)
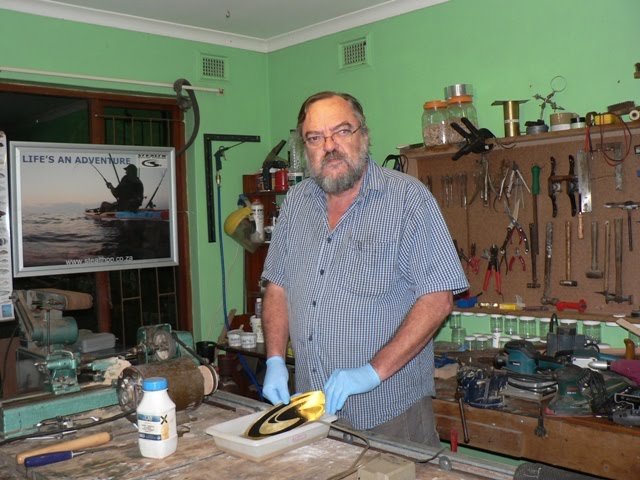
5. In closing
There have been requests to post a picture of myself on the blog.
View at your own risk
No comments:
Post a Comment